To properly display this page you need a browser with JavaScript support.
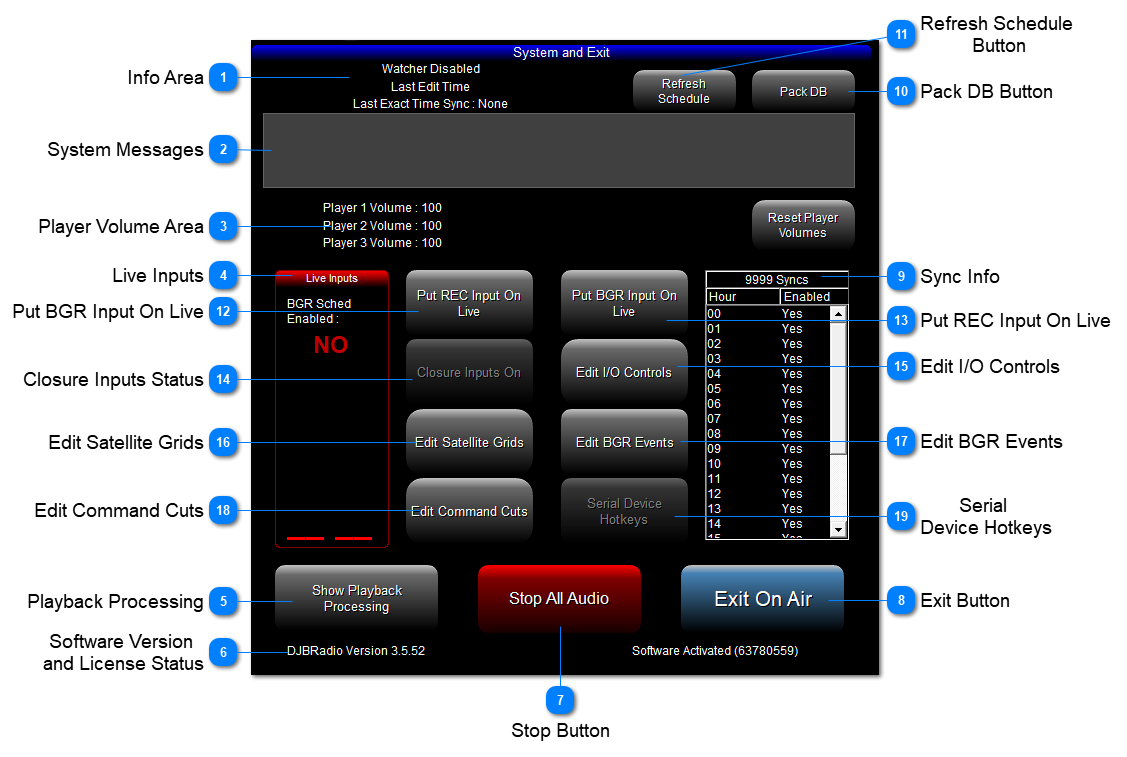
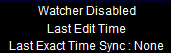
Info Area This area shows several things:
1. The Watcher is enabled in Automation Mode. If a bad cut hangs up the schedule, Watcher will click the Play Next button to ensure the station doesn't stop.
2. Last Edit Time shows the date and time of the last schedule update caused by and edit function in Production Log Editor or Voice Tracking.
3. Last Exact Sync Time shows when an exact time item in the log caused the schedule to advance.
System Messages This area will show various system messages including Digital I/O like RDS outputs and Relay Inputs.
Player Volume Area It is possible to reduce player volumes using command cuts.
If the players are set to anything less that 100%, clicking the Reset Player Volumes button will return them to 100%
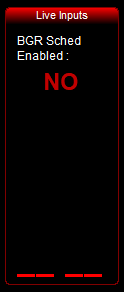
Live Inputs This area shows the audio levels of the REC and BGR inputs.
If a BGR event is recording, the red NO will change to YES.
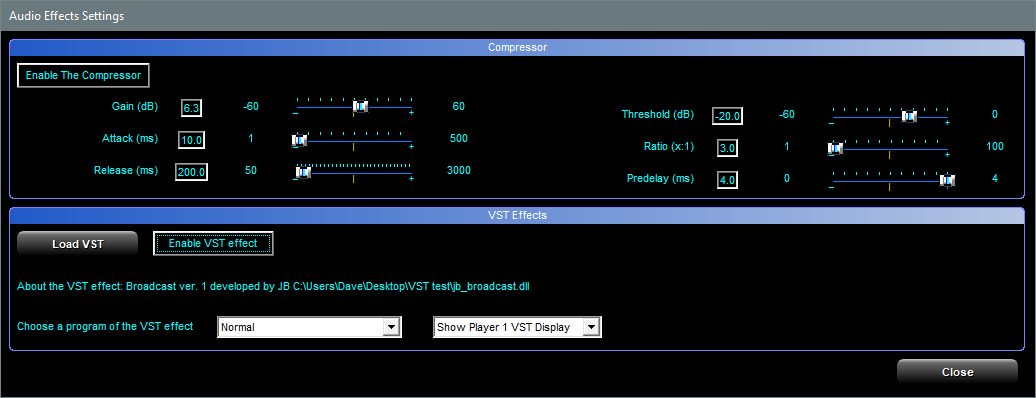
Playback Processing This opens a software compressor that can be applied to the players' outputs.
Here is a simple rundown:
Gain: Increase or decrease volume with the compressor
Attack: How quickly does the compressor react to changes in volume when the threshold is exceeded
Release: How long does the compressor take to return after adjusting volume when back below the threshold
Threshold: The level at which the compressor will begin to compress the audio
Ratio: 3.0 means for every 3dB the audio exceed the threshold, the compressor allows 1dB to pass
Predelay: The amount of time after the Threshold is reached before the attack phase is started.
There is also a VST (Virtual Studio Technology) Effects section.
If you load a compatible VST plug-in DLL file you can apply the effects to all output channels.
Note: VST files are supplied and maintained by their creator and not supported by DJB Support.
Use at your own risk.
Software Version
and License Status This area will show the software version you are running in case Tech Support asks.
Also shown is the status of your license and the License ID of the software.
Stop Button Like the emergency stop at the gas station, if you push the big, red button all audio stops and teh system is placed in Jock Assist Mode.
Exit Button This button will be grayed out if audio is playing to prevent accidental closure.
If you stop the audio and then click Exit On Air, the program will close.
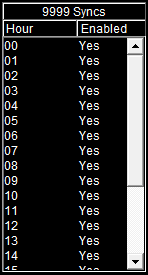
Sync Info This box shows which hours in the log have a command 9999 Sync to remove any excess audio past the Sync time.
Sync time can be changed in On Air settings, but defaults to 58:30 after the hour.
Pack DB Button Clicking this button will initiate a database pack.
The Production must be closed and only one On Air connected to the database.
This is identical to the automatic pack performed at midnight each night (if Production is not left open).
Also if there are multiple On Airs only one should not have this checkbox checked in the program settings.
Refresh Schedule
Button If you have changed the database information for cuts in the schedule this button will allow the user to refresh and update that information in the schedule.
Put BGR Input On Live This button allows you to put your Back Ground Record (BGR) audio source directly on the air.
If you record a news feed periodically and a breaking news event is happening you might use this button to air the news feed.
Put REC Input On Live This button allows you to put your Record (REC) audio source directly on the air.
Closure Inputs Status This button shows whether inputs are able to be received by the software.
If it says "Inputs Are OFF" no satellite or other Digital I/O inputs will be registered or acted upon.
Basically it prevents others from pushing you buttons.
Command cuts 9801 (ON) and 9800 (OFF) can change this setting from the schedule.
Edit I/O Controls Allows you to change the I/O Control grids.
It is explained in the Production suite
HERE .
Edit Satellite Grids Allows you to edit the Satellite grids.
It is explained in the Production suite
HERE .
Edit BGR Events Edit Back Ground Recording Events (BGR) is covered in detail
HERE
Edit Command Cuts You can edit command cuts in On Air or Production. Click
HERE for details.
Serial
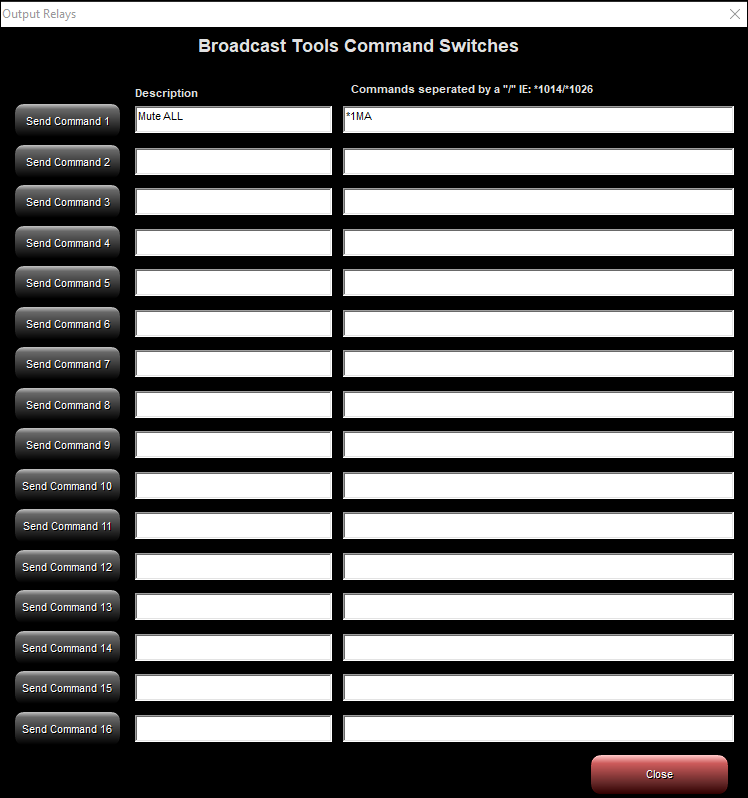
Device Hotkeys This window gives you access to a window to send manual serial commands to your serial device that you have hooked up.
Generally that serial Device is a Broadcast Tools Switcher.
If I click Send Command 1 below the switcher would receive *1MA or Unit #1 Mute All.