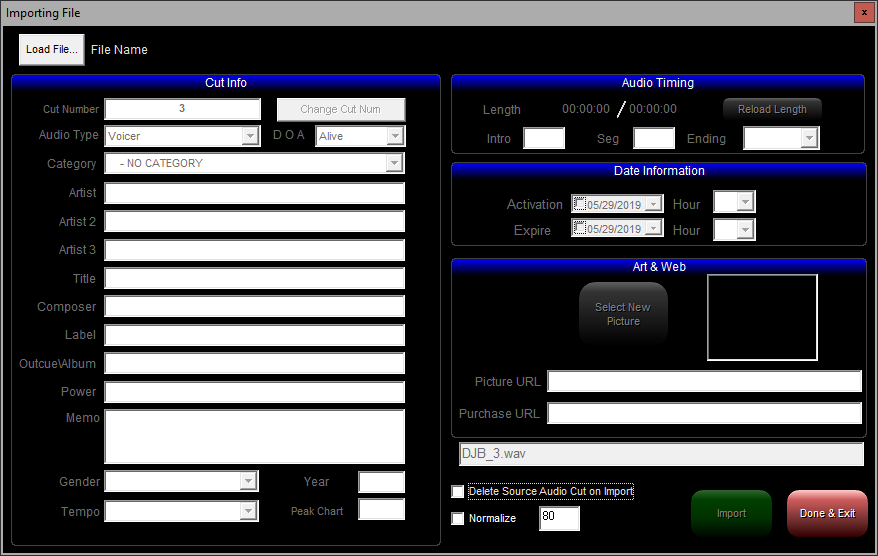
Import New Cut Button
1. Click this button to begin the process of importing a single existing cut from a local or mapped network hard drive.
2. Then click the "Load File..." button.
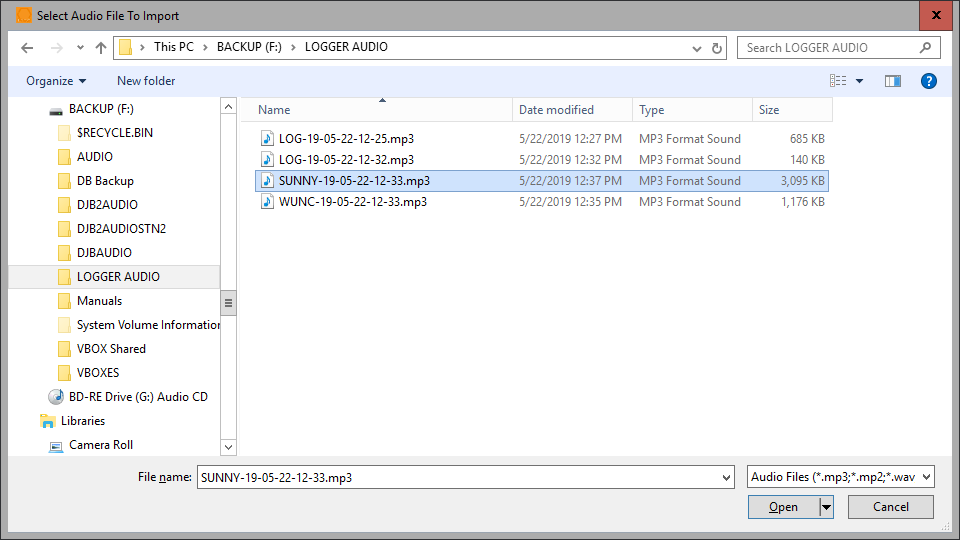
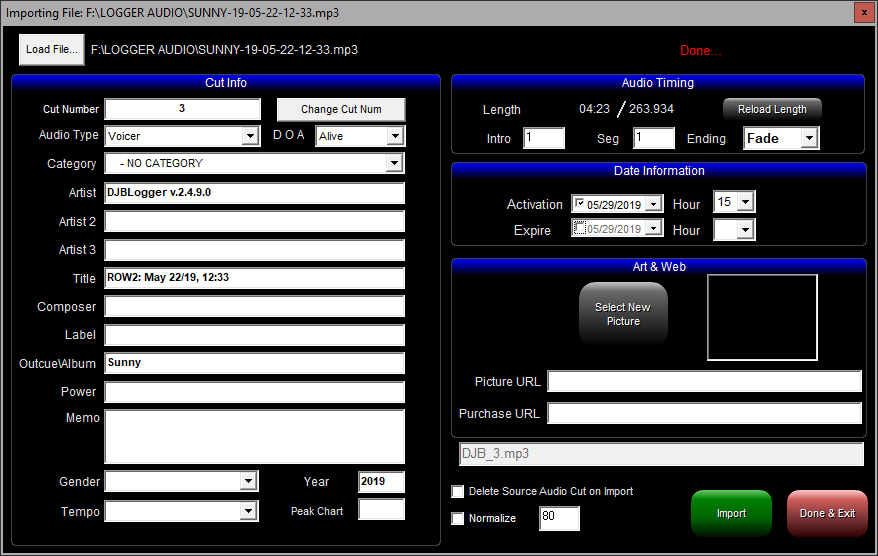
When the box below pops up, browse to the location of the file you want to import.
3. In this case I have browsed to my local drive F: and a subfolder called "Logger Audio" and selected the file "Sunny-19-05-22-12-33.mp3.
4. After selecting the single file you wish to import, click "Open"
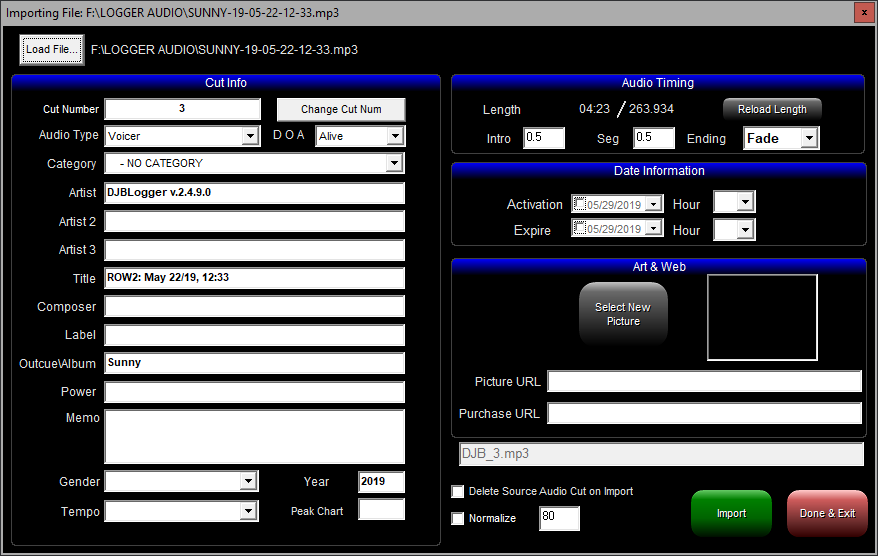
That returns you to the previous box, but with the audio file ready to import.
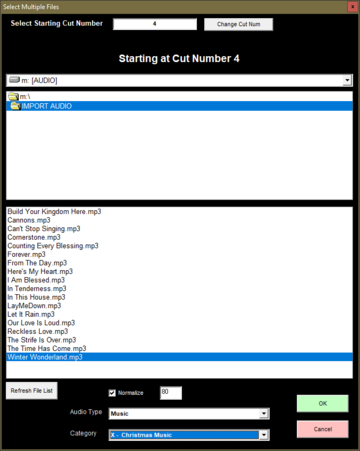
The import interface defaults to recording the next available cut number, but you can change the cut number by pressing the aptly named "Change Cut Number" button.
You should select the correct audio type (music, commercial, etc.) and you should select a Category.
You may fill in as much of the Cut Info (metadata) as you wish, but the more information you provide, the better.
Under Audio Timing you can manually set the Intro and Segue times and select whether the ending is Fade or Cold (for operator info only).
Under Date Information you can define Activation and Expire (Start and Kill) dates and hours. This can be especially useful for commercials.
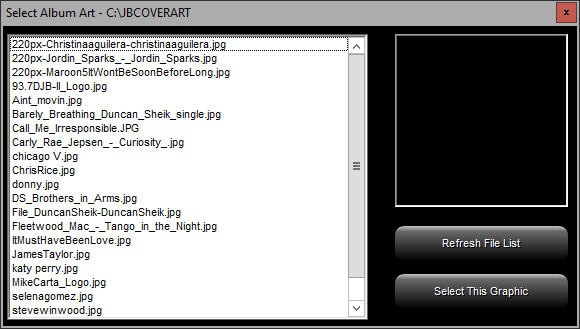
Under Art & Web you can select album art from your JBCOVERART folder by clicking Select New Picture.
You can also type (or copy and paste) the URL for the image you want to use as well as a URL for a purchase link.
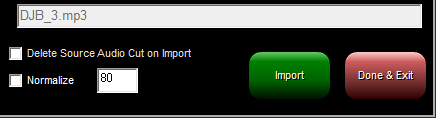
Below that section you can see the actual file name that DJB Radio Production is giving the file. (In this case DJB_3.mp3)
Delete Source Audio Cut on Import will do just that. After importing the file into DJB Radio Production, the original file you browsed to will cease to exist.
It is recommended to leave this box unchecked unless you have made a duplicate specifically for importing.
Normalize will raise or lower the gain of a cut to the percentage you select with reference to the maximum level (0 dBFS). It is good for getting all of the cuts to use the same reference level.
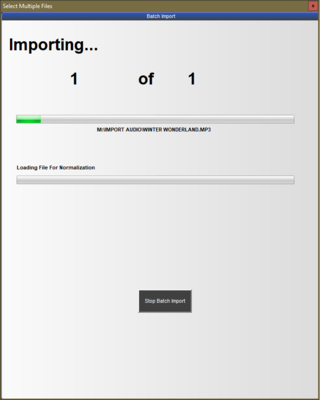
5. Then you click Import:
As you can see from the image above, it says, "Done..." in red text.
6. Click Done & Exit.
|