Using Windows Media Player to RIP
Since the built-in CD Ripper in ZONE Production can only Rip one track at a time, you may find this solution more time efficient.
-
-
Open Windows Media Player. (WMPlayer.exe)
-
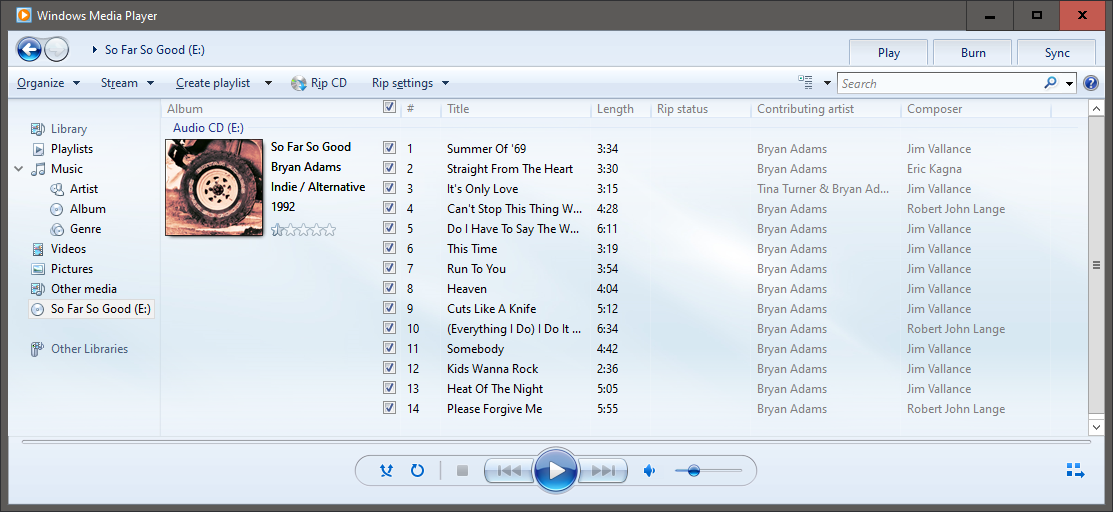
Select the CD Drive from the Navigation area. In my case drive E:\
-
Check the Rip Settings. The Format should be WAV (Lossless) for best quality.
-
Check More Options to see the destination location. By default Windows will use the User's Music Folder.
6. Once the settings are confirmed click Rip CD
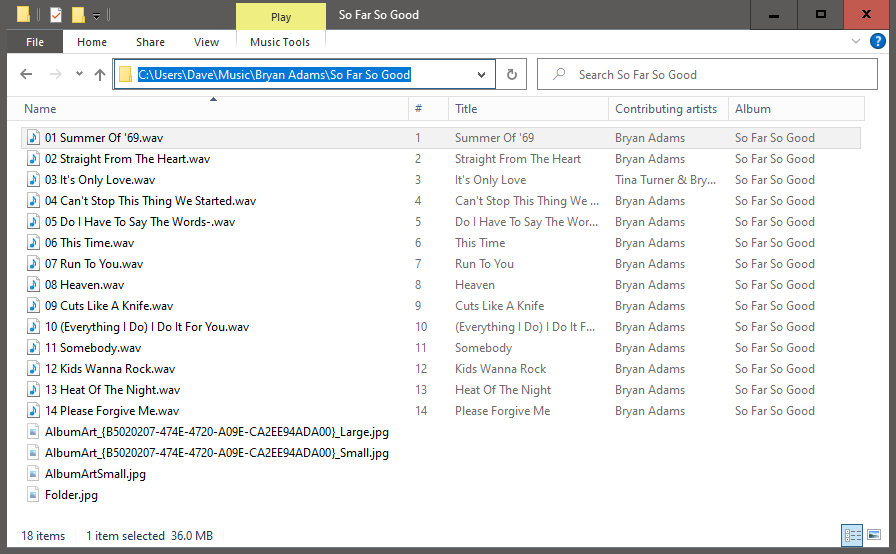
7. Now you can browse to the folder. Media Player created an artist folder and the album folder under that.
It imported all of the tracks and even found the album art that you can copy to the ZONEART folder for adding it to the cuts later.
Make sure you give it a recognizable name in the Zone Art folder.
It also collected the Title, artist, composer, and album info.
Note: Media Player makes the album art hidden and system.
Once you make copies in the ZONEART folder and rename them, you can remove the attributes from a command prompt.
Click the start button and type command. On the Command Prompt app click Run As Administrator.
Then type: attrib -s -h M:\zoneart\*.*
That is attrib, space, dash, s, space, dash, h, space, M:\ZONEART\*.*
This also assumes your ZONEART folder is located in the M drive
8. Now you can use ZONE's Batch Import to import the entire CD.