You MUST set and artist and title for this audio cut. The combination of the artist and title will automatically fill in the filename field.
You can also set the audio type and the category from this screen.
You can also select mono or stereo and the output file type however the mono/stereo and output file type are set in master settings and will always default to the choice in master settings.
It's best to have the VU meters bounce around 3/4 the way up the meters. However, it will ultimately take you to listen to the audio cuts to see how the sound is.


 It's best to have the VU meters bounce around 3/4 the way up the meters. However, it will ultimately take you to listen to the audio cuts to see how the sound is.
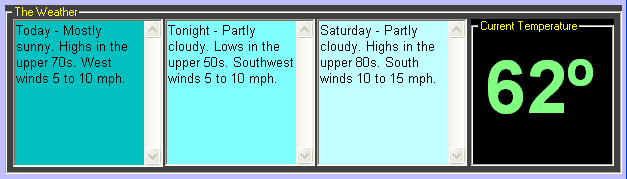 This will display the current on-air weather for you incase you are recording the weather.