
How To Setup a Channel For Selective URL Logging
On the Logger main Screen press the setting button for the channel you want to configure
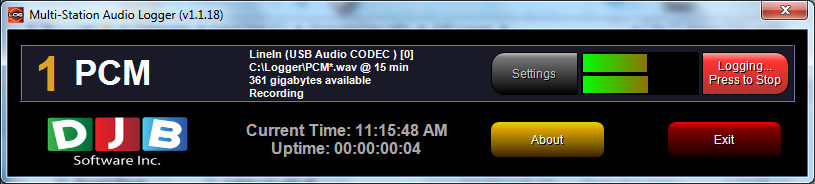
The settings button is only active when the Channel is not recording
When the Schedule page opens, all the hours in Green are the hours the logging will record, to unselect and hour simply click on it, the hour will turn white
The Logger will not record during the hours that are White
If you only need to select a few hours you can press the toggle button to switch every green hour to white and every white hour to green
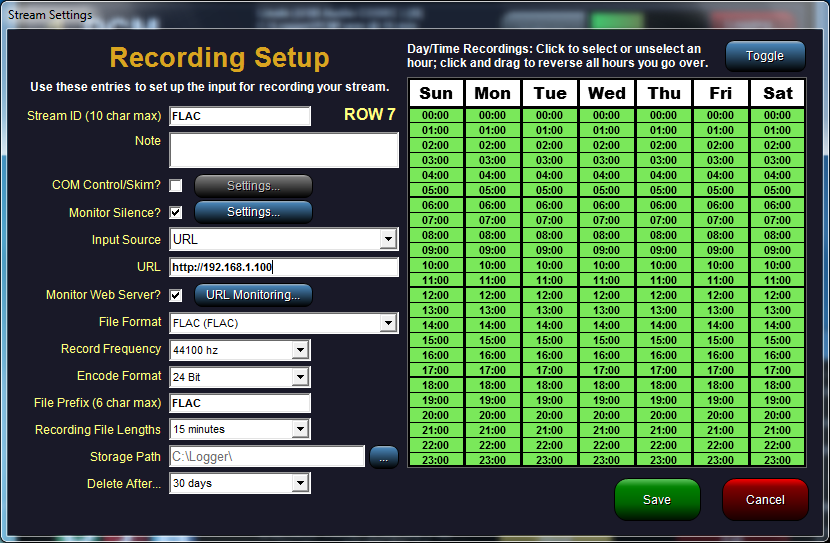
Stream ID - is just a simple Identifier for the Channel, this appears on the main screen only
Note - Add Notes about the channel here, or any technical information you may need to refrence later
COM Control/Skim - This will be covered in the skimming section of the manual, leave unchecked for 24/7 Logging, However Skimming from a web stream is not reccomended because of the delay in the stream
Monitor Silence - Select this option to enable silence detection, Silence Detection configuration will be covered in the Silence Detector Section
Input Source - Select URL
URL - Enter th direct URL to the Audio Web Stream, a Player link will not work, it must be the direct URL to the stream, If need assistence finding the URL check www.radio-locator.com
Monitor Web Server - Enable This to be notified if the stream URL fails, Please see the URL Monitor Section for more setup Information
File Format - Select the Format you want for the Files. Your options are
PCM - Uncompressed Wav file
MP2 - Mpeg 1 Layer 2 Compression
MP3 - Mpeg 1 Layer 2 Compression
MP4 - AAC (Advanced Audio Coding) Compression
OGG - Ogg Vorbis Compression
FLAC - Free Loseless Audio Codec
Record Frequency - This is the sample rate for the destination file, if using compression it is better to use a higher sample rate so that it has more samples to compress from. Currently the URL logging is locked to 44.1K sample rate.
Depending on the File Format you pick you will get options for the quality of the recording either by bitrate, a Quality level or number of Bits
File Prefix - This is the prefix for the filename, after the prefix the file is -YY-MM-DD-HH-MM.ext
Recording File Lengths - Decide how long you would like your segments to be....
15 minutes will spilt the recording on the quarter hour
30 Minutes will split the recording at the top and the bottom of the hour
60 Minutes will split at the top of the hour
Depending on when you start the logger generally the first segment will be smaller then the rest.
Storage Path - This is the drive and folder path or where to record the files
Delete After... - you can set the logger to automatically ourge audio after so many days, this is advisable so that your drive won't constantly fill up with audio files.
Once you have made all your Selection press the "Save" button
Back on the main screen press the "Start Logging" button to begin the record