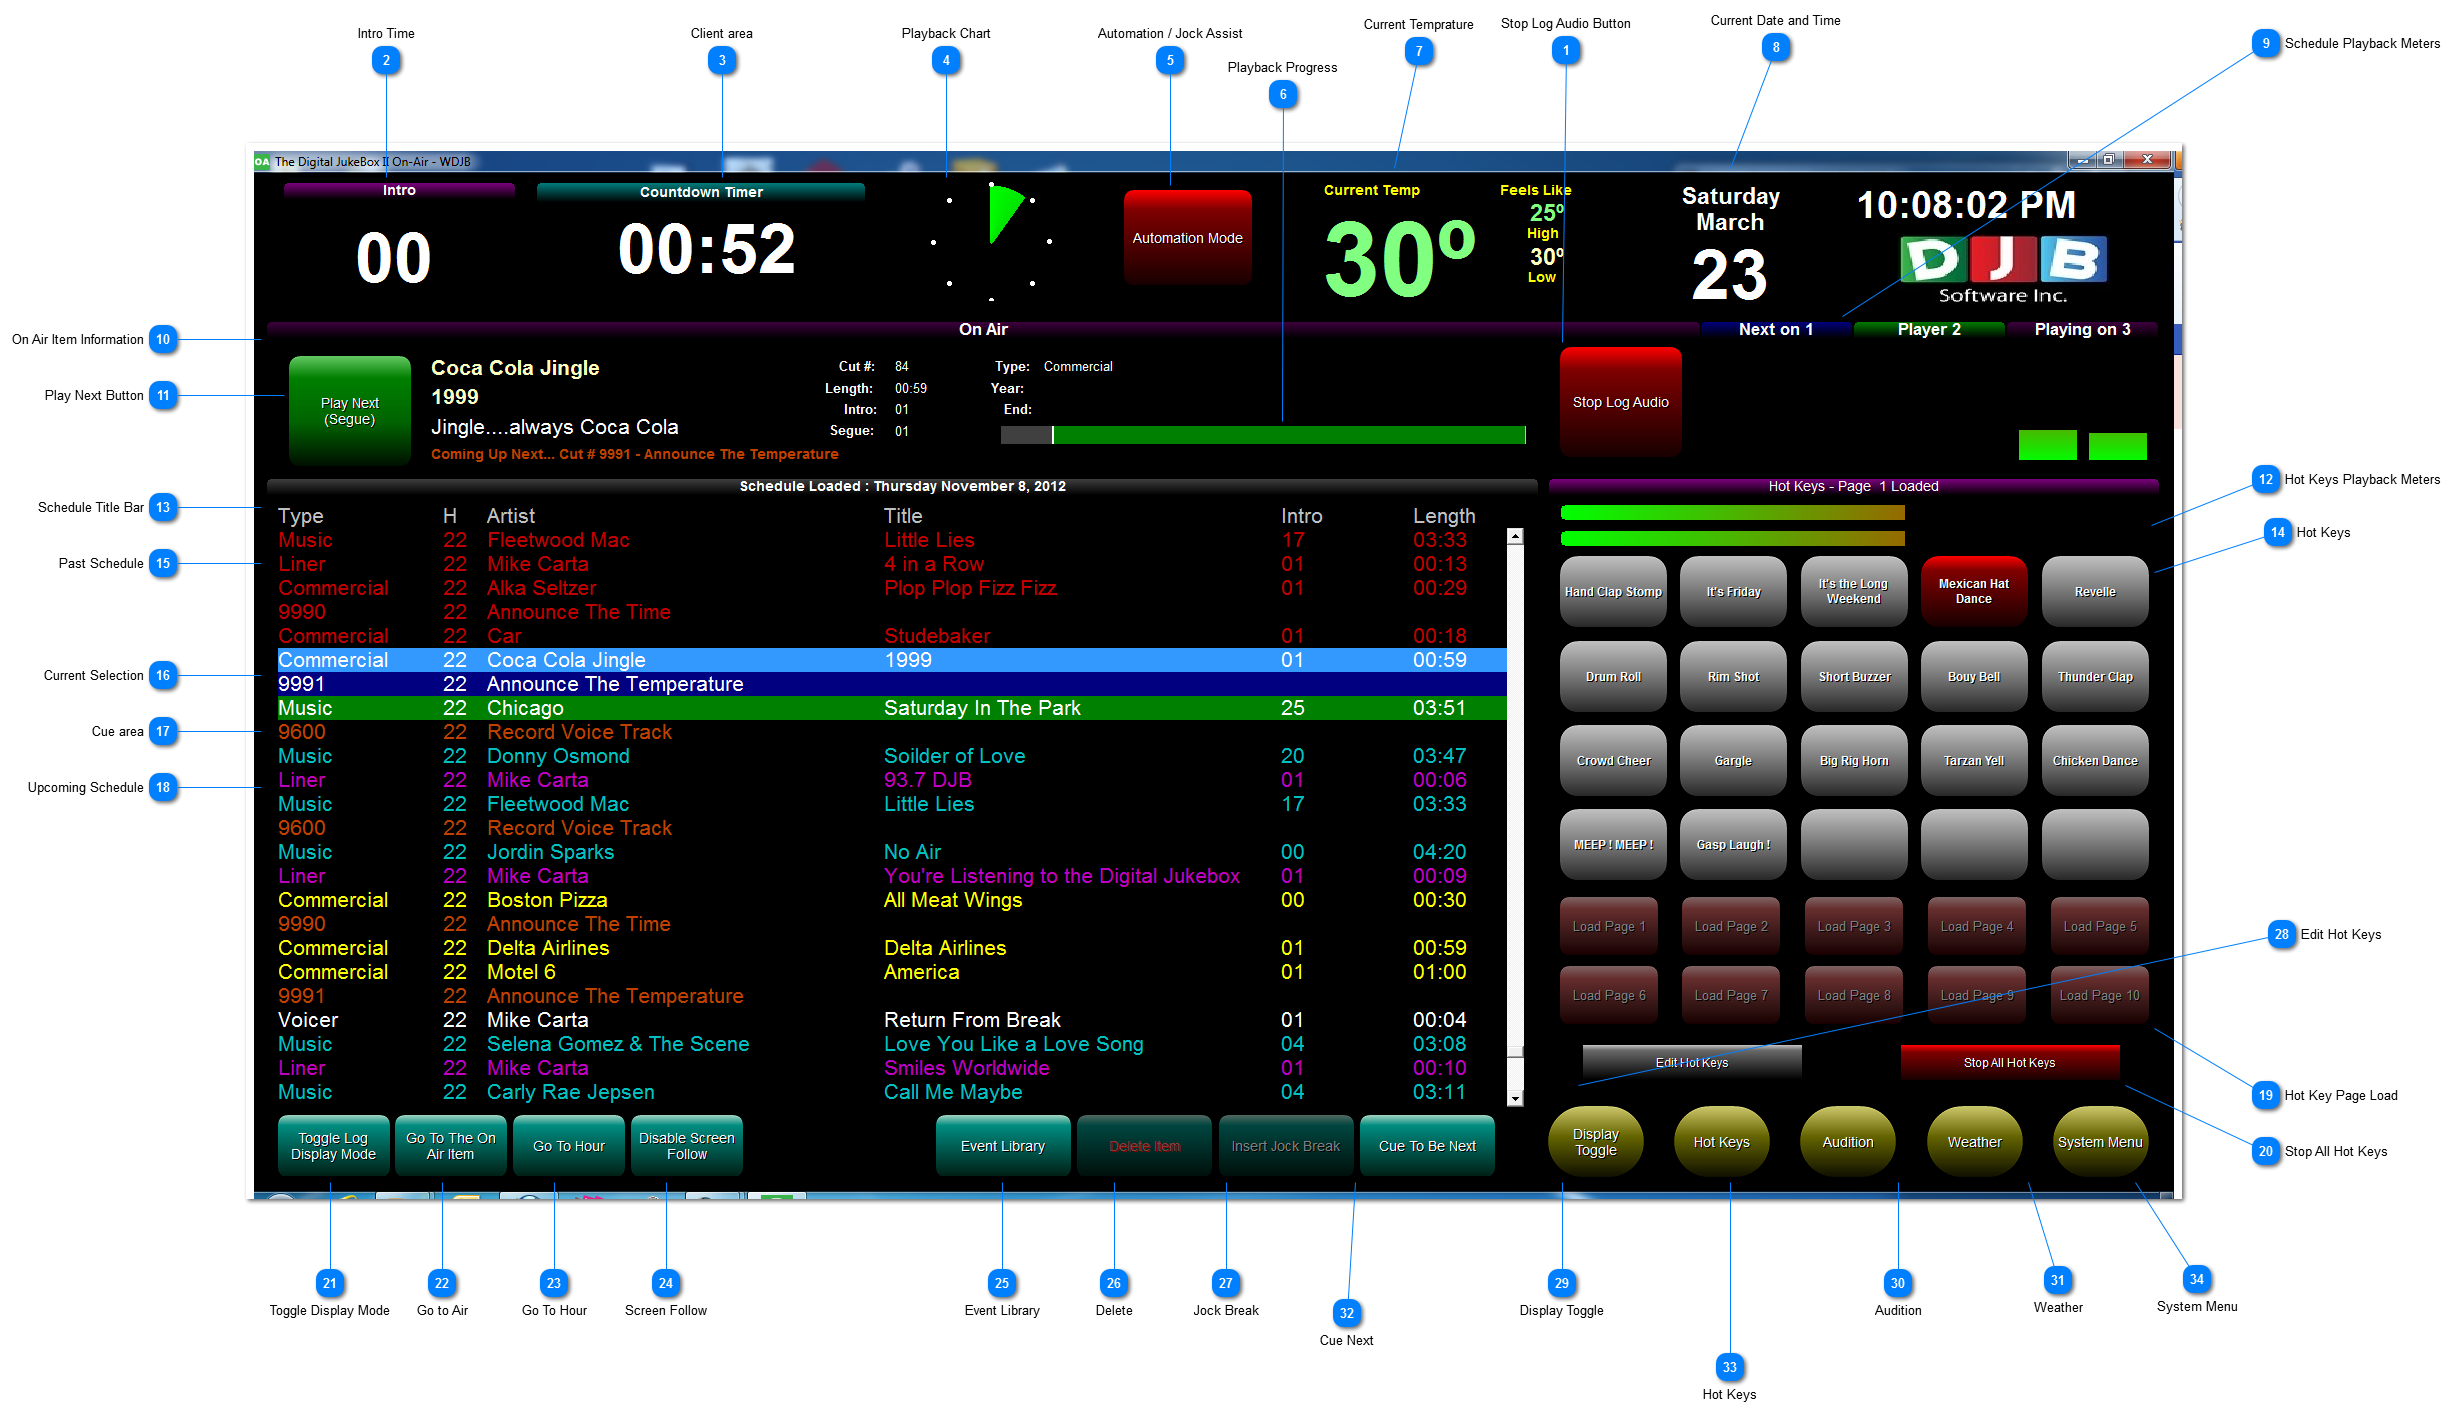
Stop Log Audio Button
The Stop Log Audio Button will stop any digital Audio Playback happeing from the schedule area.
|
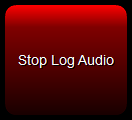
 Intro Time
When a Digital Audio Item has an intro time more then 0 in the database this area will count down the intro time when the item starts playback
|
 Playback Chart
This area shows a clock style display to show the user the remaining time in the currently playing item. As the item playing back nears the end, the chart will begin to change color from Green to Yellow and finally to Red.
|
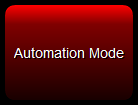
 Automation / Jock Assist
This Button will Toggle the system between automation and Jock Assist Mode
In Automation the system will continue to play audio until a user or a command tells it to stop
In Jock Assist Mode the user must start all events manually using the play next button
|
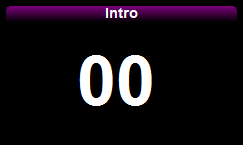
 Playback Progress
This is another Visual Display for the user to gauge the playback of the current On Air Item. As the item plays the bar will progress to the end. As the item plays it will change color from Green to Yellow and finally to Red when the item's playback is almost finsihed
|
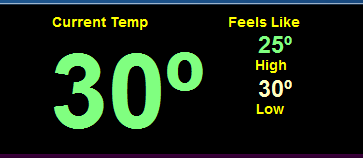
 Current Temprature
The DJB Weather module uses the internet and your Zip/Postal Code to obtain your current conditions and the DJB Automation system displays them here. The Temprature is updated a couple times an Hour.
|
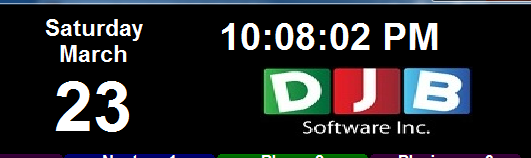
 Current Date and Time
|
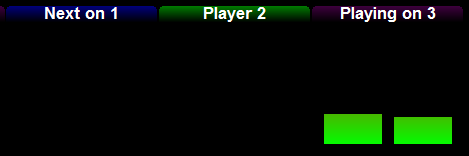
 Schedule Playback Meters
The Schedule Area has 3 Players and this area will show you which players is currently active and It also shows you where the next item will play.
|
 On Air Item Information
This Area provides all the information about thecurrently playing On Air item. It also provides a brief description of the item coming up next.
|
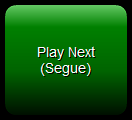
 Play Next Button
This Button will start the playback of the first cued item in the schedule when starting DJB II for the first time. If the system is currently playing back, pressing the playnext button will fade out the audio that is playing and start the next event in the schedule. This can also be fired by using the space bar on the keyboard
|
 Hot Keys Playback Meters
This area shows the audio playback from the hot keys audio device
|
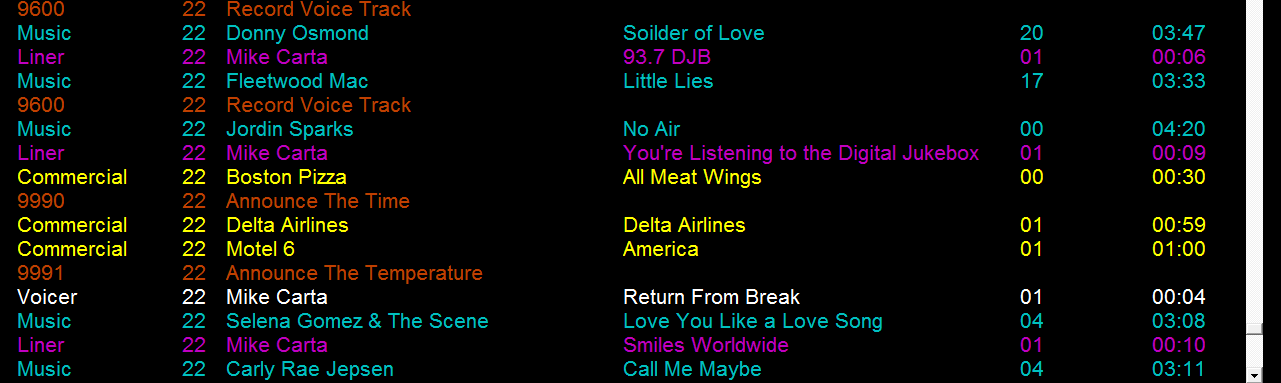
 Schedule Title Bar
This Area Shows you the Schedule that is loaded and it also Has the column Headers for the Schedule
Type - This is what kind of log item it is, either a command, voicetrack or some type of Audio like commerical or music
H - This is the Hour that item is scheduled for
Artist - This is the Information from the artist field for the Schedule Entry
Title - This is the Information from the title field for the Schedule Entry
Intro - This is the Intro time fot the Schedule Entry
Length - This is the length of the Schedule Item
|
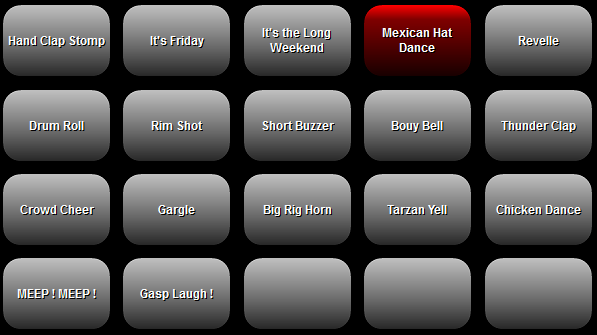
 Hot Keys
Each Hot Kery page can have up to 20 buttons. To Play a Hot Key simply click the button. When the audio is playing the button will turn red. If you wish to stop the button simply press the button again. You can play up to 4 Hot Keys at the same time.
|
 Past Schedule
When Schedule items have played they appear as red in the Schedule
|
 Current Selection
This is the item that you currently have selected, it always shows as light blue with whiute text, the item that is selected can then be viewed on the audition tab or deleted. This also selects where an item is inserted if selected from the event library
|
 Cue area
These Schedule items are next to play and the color will determine what audio device they play from
|
 Upcoming Schedule
These Schedule items have not played, and are colored based on the type of schedule item they are
These log items can also be dragged and droped to change their order, easy editing
|
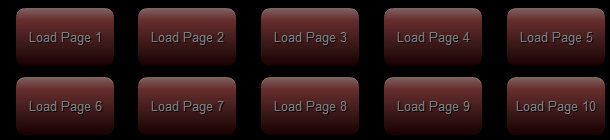
 Hot Key Page Load
these buttons will quickly load one of your 10 Hot Key Panels
When Audio is playing back on one of the Hot Keys the buttons are disabled until playback is stopped
|
 Stop All Hot Keys
This Button will Stop the audio playback of all active Hot Keys
|
 Toggle Display Mode
This button changes the schedule Edit Display between single and dual line displays, with eveything on a single line you get the most schedule on the display, In dual line mode the schedule may be easier to read for some but less items show.
|
 Go to Air
If you were Editing further down the schedule, this quick button will return you to the onair item with just a single click
|
 Go To Hour
This button will take you to a specific Hour in the schedule, usefull for looking ahead in the schedule and making changes to other hours
|
 Screen Follow
With Screen follow enabled the Cursor will always return to the onair item at the segue, this is usefull to keep the screen on the onair item during automation
this function should be disabled if you are trying to edit the schedule as you do not want your cursor to change if a segue happens during automation
|
 Event Library
This will open the Event Library in a floating window
The Event Library allows access to the Audio, Command and Multi cut Cart Lists for easy addition to the schedule.
The event library can be left open for quick access
On Dual monitor System the Event library can be moved to the other screen for even easier access
|
 Delete
This button will delete the currently selected schedule item.
the button disables if the current selection is in the pas schedule
|
 Jock Break
This will insert a Schedule item that will turn the system from automation to Jock Assist for easy Jock Breaks
|
 Edit Hot Keys
This Button will launch the Hot Key Editor so you can change the hot key audio in the Control Room, no need to go to the production room.
|
 Display Toggle
This Will change the Schedule Diplay from the Editing Screen to the Simple Display Screen.
The Simple Display screen is great for automated segments as the Edit buttons are not on the screen so it prevents accidental editing
|
 Audition
This Button Will Bring Up the Audition Screen In Place of the Hot Keys
|
 Weather
This Button Will bring Up the Extended Weather Report in place of the Hot Keys
|
 Cue Next
This function will change the highlighted item to be the next item to play, this can be used for moving backwards and forwards in the schedule
|
 Hot Keys
If any of the Other Screens are loaded (Audition, Weather or the System Menu) this button will return the screen to the Hot Keys
|
 System Menu
This Button will bring up the System Menu Tab in Place of the Hot Keys
|
The online help was made with Dr.Explain
|