Prod - Audio Cuts Database Export
Allows you to export the selected audio file to a folder, this is the easiet way to get the audio out of the system for use in other audio players and tools
|
 Tag Toggle
Marks the selected audio file for use with the mass changer, press once to tag a file, press a second time to untag the file
|
 Copy
Copy the selected audio cut to a new number, when clicked you will be prompted for a new cart number to copy the cut to
|
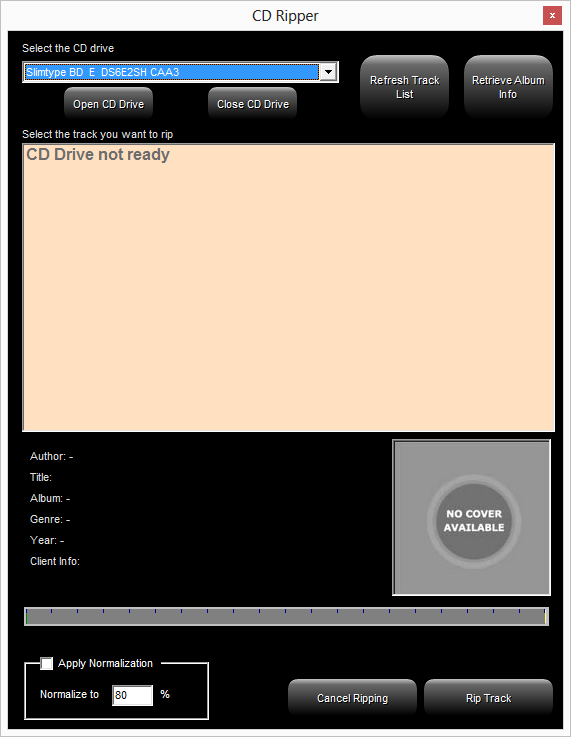
 CD Ripping
Highlight a slot and click to open the CD ripper, select the track you wish to import.
|
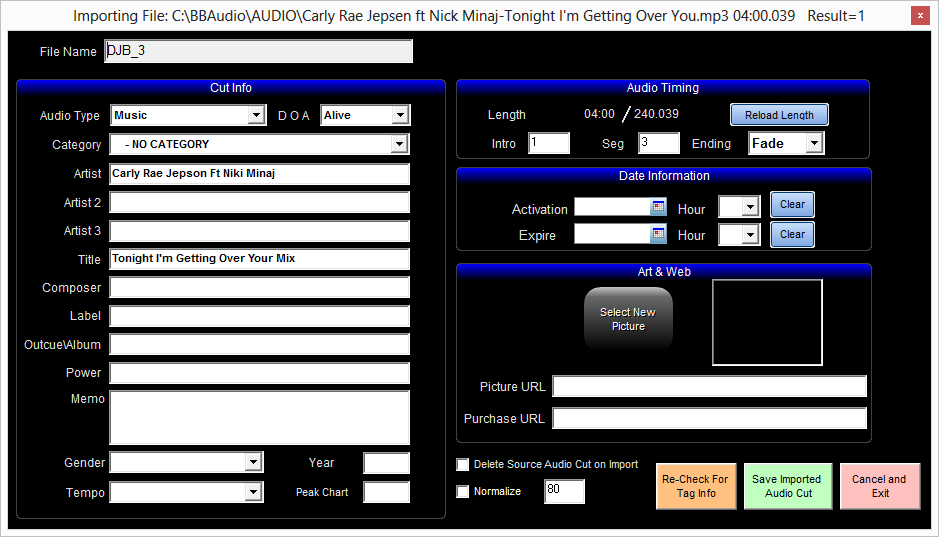
 Import
Will imported an audio file into the selected slot. The system will try to read tag information from the file (id3, TMC Gold Wave, TMC Gold Drive, Cart Chunk)
When the import window opens you can set all the database info on the cut before the final import
|
 Cut List Sort
Select the Sort for the Cut List
|
 Find
This field will change based on the sort
|
 Activation / Expire Dates
Set the first and last day the audio cut can play
|
 Temp
Set the Temp of the audio cut
|
 Reload
This will reload and refresh the library
|
 Outcue / Album
Enter the Outcue for commercials and other audio
|
 Composer
Enter the composer for the track, commonly used for music, for commericlas this could be used for the writer or agency
|
 Title
Enter the Title of the track
|
 Category
Select the music scheduling category for the selected cut
|
 Year
Enter the Year of the selected cut
|
 Peak Chart
This is the highest position this cut has charted, typically used for music programming
|
 File Name
Displays the file name of the selected cut in the audio system
|
 Mass Changer
|
 Clear Tags
Untag all the cuts currently tagged
|
 Move
Move the Selected cut to a new cut number
You will be promted for the new number when clicked
|
 Delete
 the Selected Cut
|
 Batch Import
Batch import multiple files starting at the selected cut
|
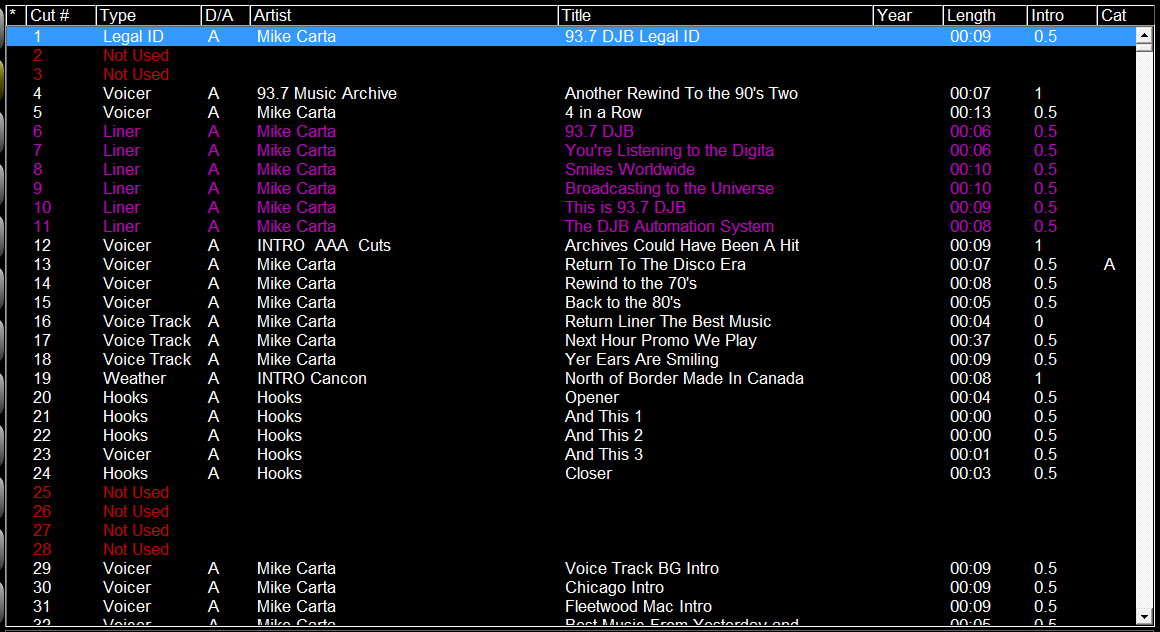
 Cut List
|
 Play History
This function will scan all the schedules on the system and display a chart of when the cut was played
|
 Album Art
If you would like to set album art on the selected cut, place the graphic file ( 300x300 jpg suggested) in the JbCoverart folder and then select graphic. Select the correct graphic from the file list
|
 Gender
Enter the gender of the selected track, this field is used in the gender protection options of the music scheduler
|
 Power
|
 Audio Type
Select the type of audio for the selected cut
|
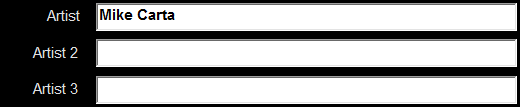
 Artist
Enter up to 3 artists for the selected track. Artist 2 and 3 should be used for artists that are similar, for example if you enter beatles as the main artist, enter paul mccartney and john lennon into artist 2 and 3 to prevent them from being scheduled near each other.
|
 Dead or Alive
Set the cut to Dead or Alive...essentially enabling or disabling the cut
|
 Label
This field is used for the record label
|
 Memo
This field is used for general notes on the selected cut
|
 URL
Set web links for purchasing information
|
 Ending type
Set the End type for the selected cut, either fade or cold
|
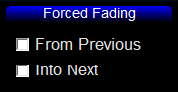
 Force Fading
Force this song
|
 Delete VT's
|
 Wave Form Display
|
 Play Controls
|
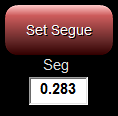
 Segue
|
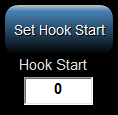
 Hook Start
|
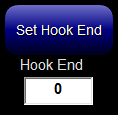
 Hook End
|
 Multi Cart Refferal
|
 Intro
|
 Digital Editor
|
 Record
|
 Day Parts and Relays
|
 Rested
|
 Save
|
 Exit
|
The online help was made with Dr.Explain
|