To properly display this page you need a browser with JavaScript support.
<TODO>: Insert description text here... And don't forget to add keyword for this topic
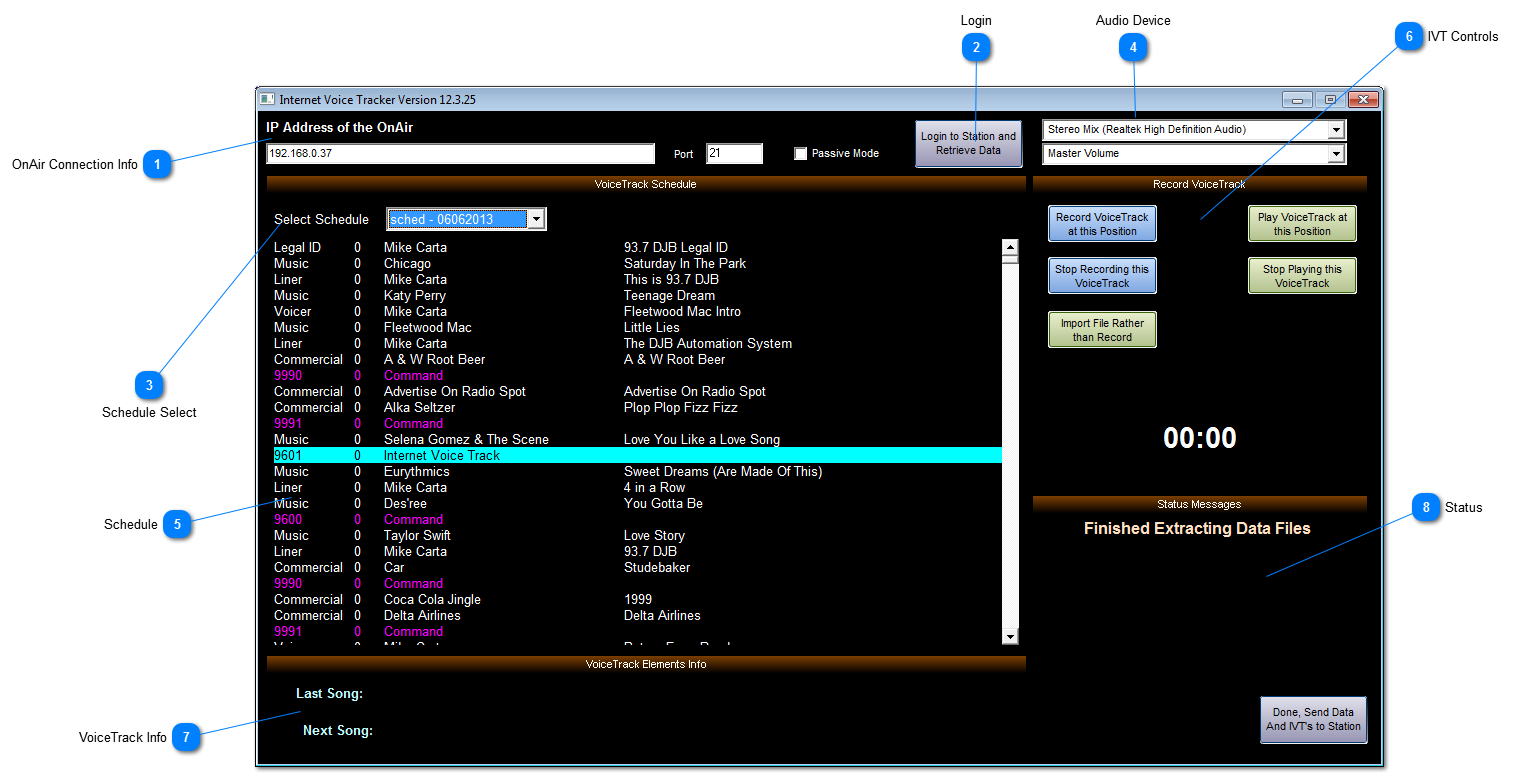
OnAir Connection Info
In Thios area you enter the connection information for your onair
Simply enter the IP address and port that corresponds to your DJB II Internet VoiceTracking Server
The Passive mode check box is an option that can help you connect if you are behind a firewall
Login
Once Your IP and port information is entered this button will allow you to login to the OnAir and retrive the Schedules
Schedule Select
Once you have connected and downloaded the schedules you use this selection to load the schedule you wish to voicetrack
Audio Device
Select the Recording device and Mixer you wish to use
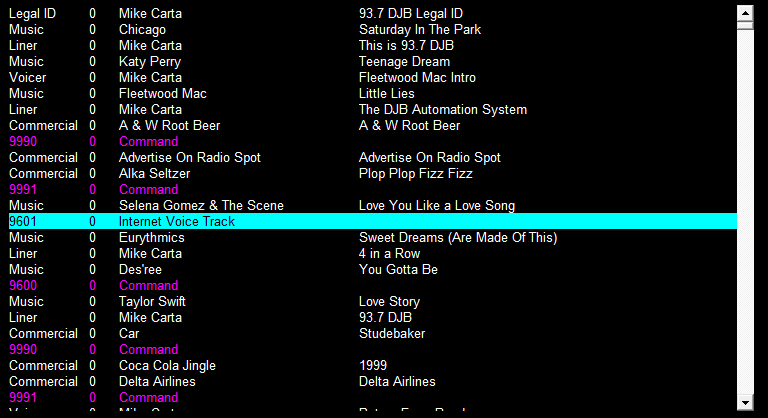
Schedule Once you select a schedule this area displays it
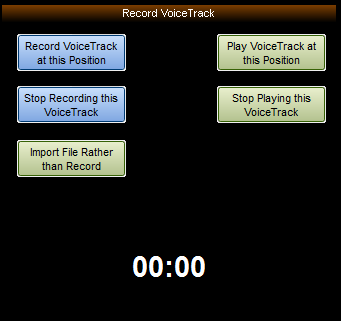
IVT Controls This Area is where you will find all the controls
Start and Stop Recording, Start and Stop Playback
Import a file instead of recording
The area also contains record meters and timers for recording and playback
VoiceTrack Info When your selected item is a voicetrack, this area will display the previous and upcoming items as well as how long you should record a voicetrack for in order to cover the extro and intro of the songs perfectly
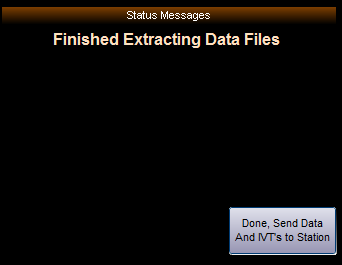
Status This area contains any status message the software wishes to relay to the user, such as file transfer messages and errors
Once you are finished voicetracking pressing the Done button will upload your tracks to the IVT server